NavBAr

Showing posts with label diy. Show all posts

Wednesday, December 12, 2012

Handmade Christmas 2012


Hello and happy holidays friends!

I apologize for the severe lack of movement here the past weeks. My Husband and I just bought a new (old) house and we have been busy moving, fixing, renovating, painting, and all the things that come with home ownership!

I have been so behind trying to get our home in some kind of livable condition that I have fallen behind on my usual Christmas crafting escapades.

This year we kept hings pretty simple. I used a lot of the decorations I made last year -


* Pinecone Garland

* Wrapping Details

(Be sure to visit my Etsy shop for some downloadable Gift Tags and other great gift ideas!)

And did a few new projects!

* Budget Anthropologie Pom Pom Garland Tutorial 

I also added some more found/natural elements that were quick, easy, and most importantly, free! Take a look for some holiday inspiration.


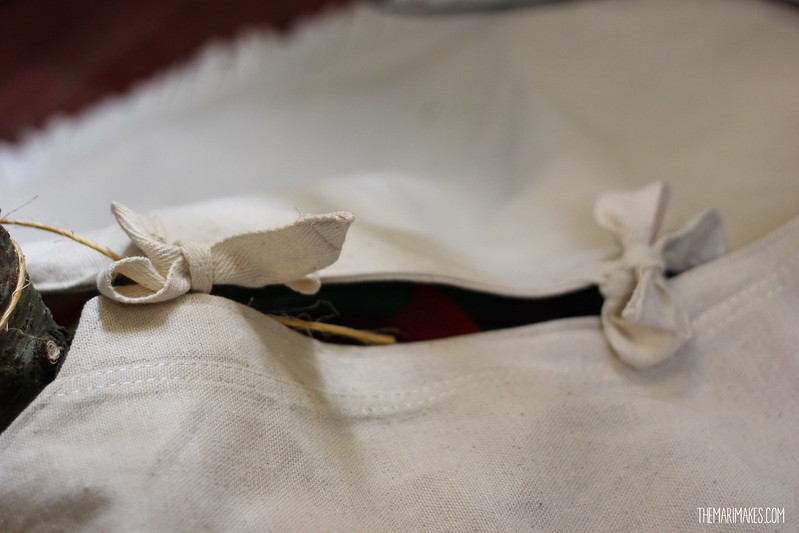
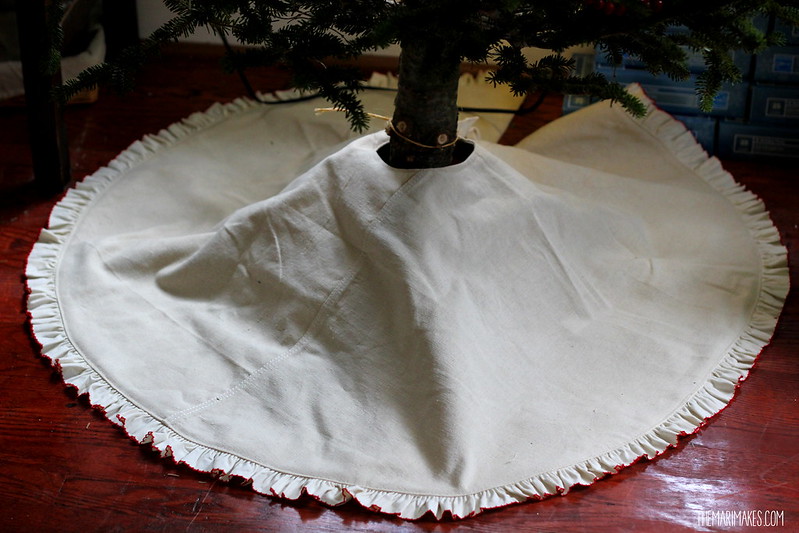
We got our first real tree this year, (my first ever!) and we needed a tree skirt so our cats would stop drinking all the water! Again we are on a budget, so I tried to use only what I had. I still had some painter's dropcloth left over from these basket liners, I also had some cream fabric trim with a red crocheted edge on it that I got at an estate sale a while back that was perfect for the job. I didn't use a pattern, I basically just winged it and was able to do it in under 45 minutes. It  turned out perfect!

(If you would like a tutorial leave a note in the comments!!)


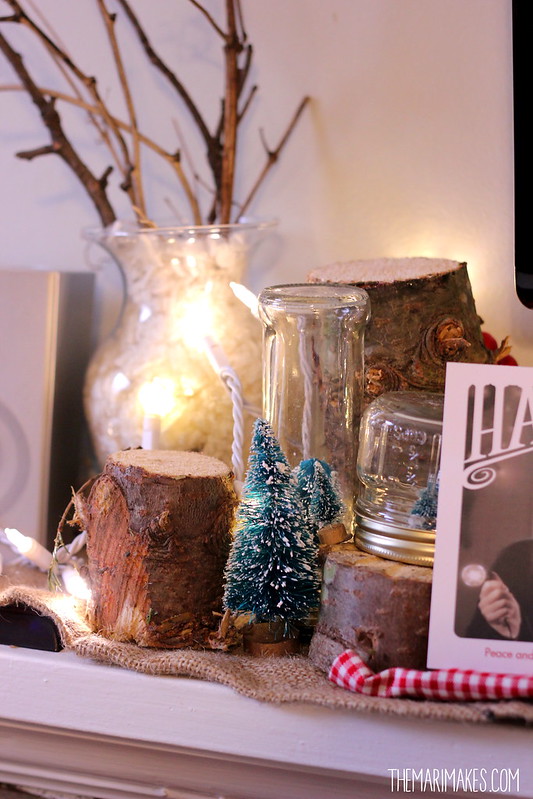
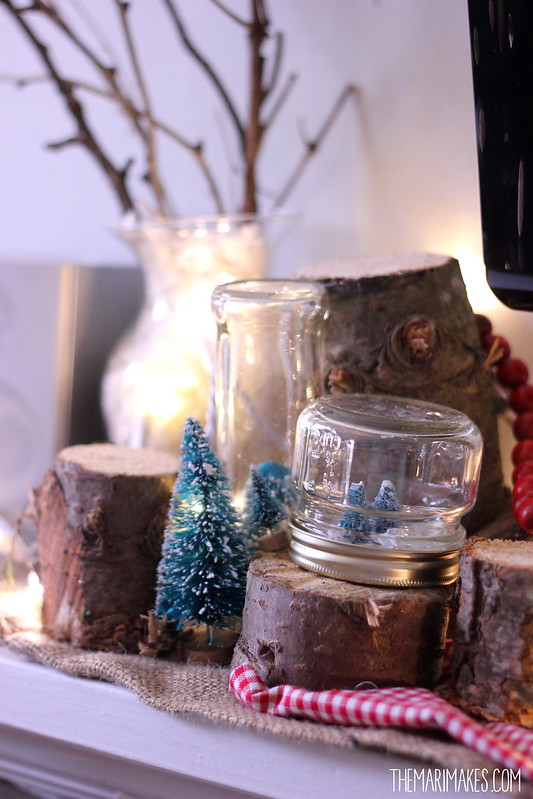
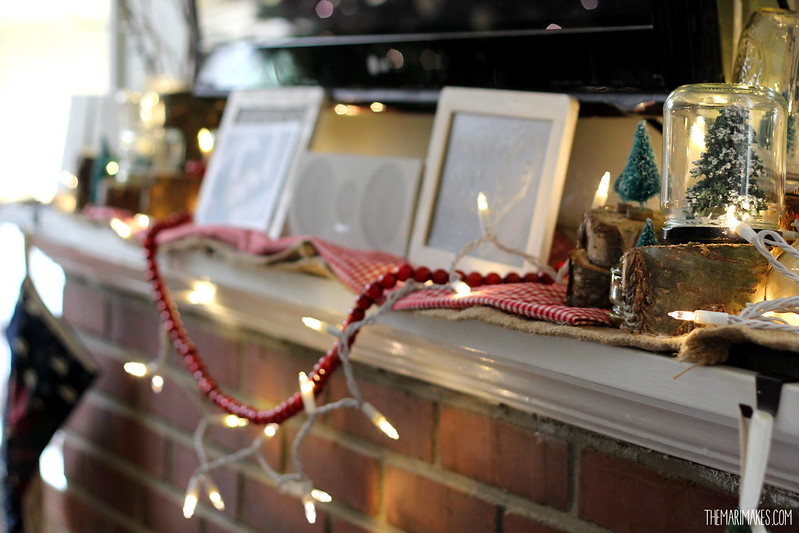
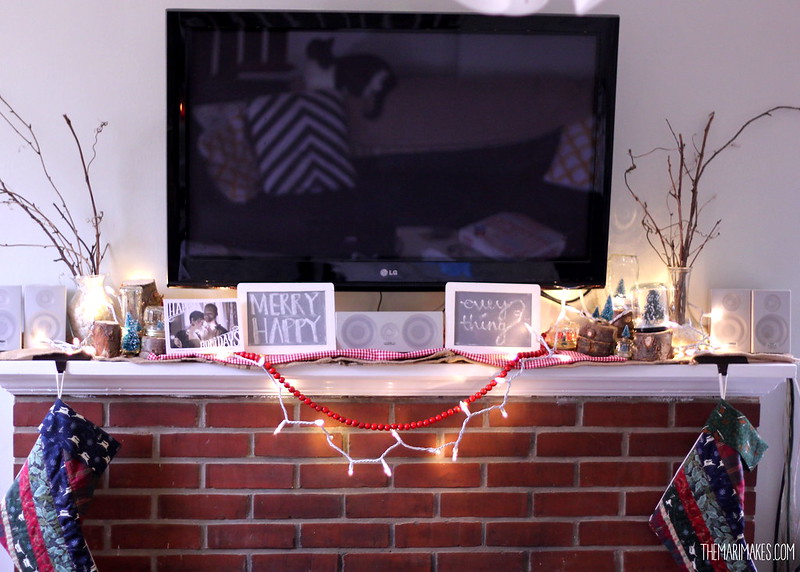
When we bought our Christmas Tree I asked for some extra cuttings off the trunks to use for decorations. I stacked them over the mantle and interspersed them with the DIY Mason Jar Snowglobes I made last year.


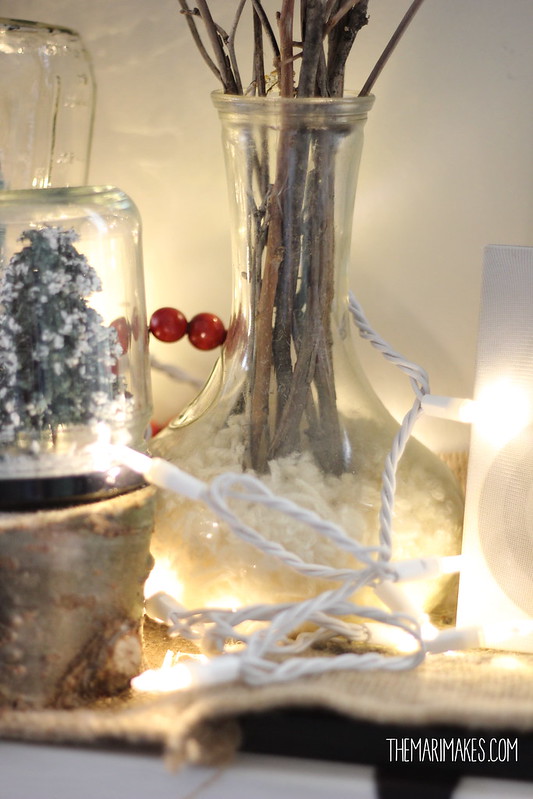
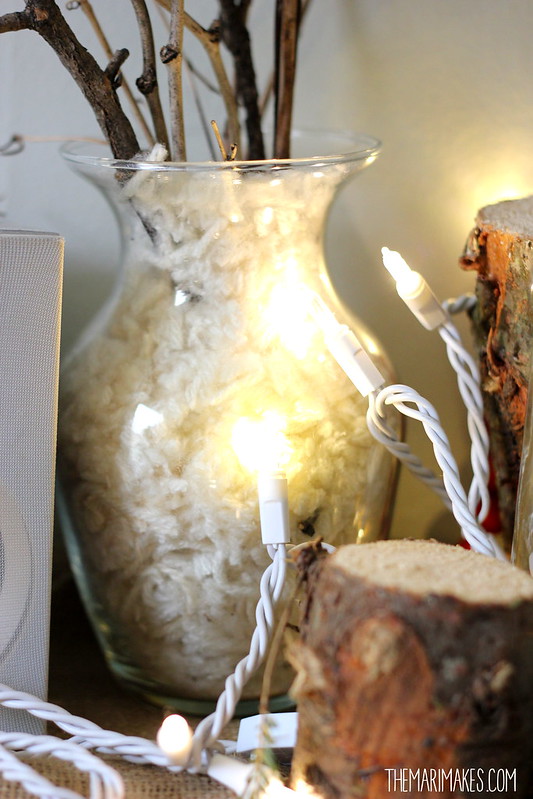
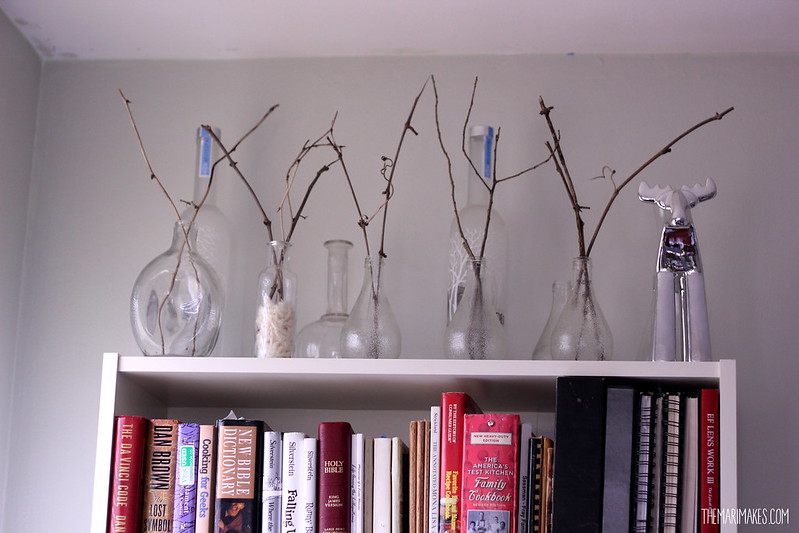
Trimmings from the pom poms make snowy vase filler! I made arrangements with curly twigs from our yard.
I used some small chalkboards I had on hand to write seasonal messages for the mantle!

You can see the tutorial I made for the pompoms here. I strung them into a garland, and used the extras and trimmings as vase fillers with some pine cones and twigs from my yard!


The tree! See the teeny vintage crocheted angel we use as a topper?
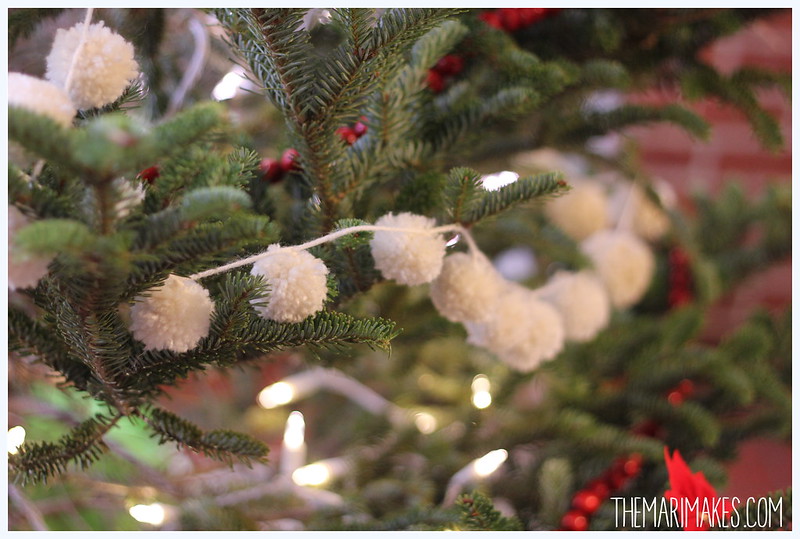


Extra pom poms and pinecones as vase filler!


Happy decorating and thanks for reading!

Monday, October 29, 2012

Project - The Fantastic Foxes


This weekend Husband and I went to our friend's Halloween party dressed as the Fantastic Mr. and Mrs. Fox! It's one of my very favorite movies and I have been wanting to do it for Halloween since it came out!

Mr. and Mrs. Fox! 


On to the details!


I got lucky and found a long sleeved yellow trapeze cut dress for $3 at Salvation Army!  I cut the sleeves to 3/4 length and used the remainder to add a collar and a paintbrush pocket!


Then I made a stencil (using my method from this post) of an apple to paint the apples onto the dress! After they dried I painted a green leaf on each apple. I also painted a wood button yellow to add to the collar!


I drew out a design on letter sized paper and cut out the different pieces of the faces from colored felt. I hot-glued everything on, and glued the felt mask to a cheap plastic one from Michaels! It took some adjusting cutting out the eye holes correctly, and I had to cut away some of the plastic for comfort.


Finally, I made a simple tail for myself and felt band-aids for my husband's bottom! (Mr. Fox's tail gets shot off in the movie!) I even made a cardstock version of Mrs. Fox's  cameo brooch!


We got a lot of compliments, particularly from those who'd seen the film!

Cost breakdown:
$3 - felt
$2- 3-pack of plastic masks
$2 - thrifted button down shirt
$3 - thrifted yellow dress

Total - $10

Everything else came from things we already had on hand!

 Before and after! 

Happy Halloween and thanks for reading!!

Monday, September 10, 2012

Projects - Floral Crowns


Today I planned a fun little project with the girls I nanny for: floral crowns!

The last time I made these was at my 10th birthday party, and while preparing for it my mom sliced her thumb open when cutting the stems of the silk flowers! Good times. All my friends and I loved making them though! They are making a resurgence on the blogosphere lately, and I knew the girls I nanny would just love them.

I didn't get a chance to do a full tutorial photo set, but there are many beautiful tutorials already available, like this one at Kelli Murray! There are several ways to do this project, find a method that works for you!

I used some stem wire for the crown itself, floral tape (you can use floral wire as well), and wire cutters all from my stash. I purchased some complimentary colored flowers on sale at Michael's! I spent about $10 for the materials for the girls' crowns. I wrapped the wire in floral tape and  wrapped each stem onto the wire as the girls picked out the flowers they wanted on their crowns. 

The tape was very sticky at the end from working with it, so I wrapped the un-flowered wire with thin strips of felt that I hot glued in place so the tape wouldn't stick to their hair. Then I bent the ends into hooks to hook together to form an adjustable circle!


The girls just loved the project and had a great time picking out their flowers and designing their crowns!


Thanks for reading!! Be sure to follow me on Facebook, Twitter and Pinterest!


Friday, August 24, 2012

Projects - Vintage Paper Doll Art


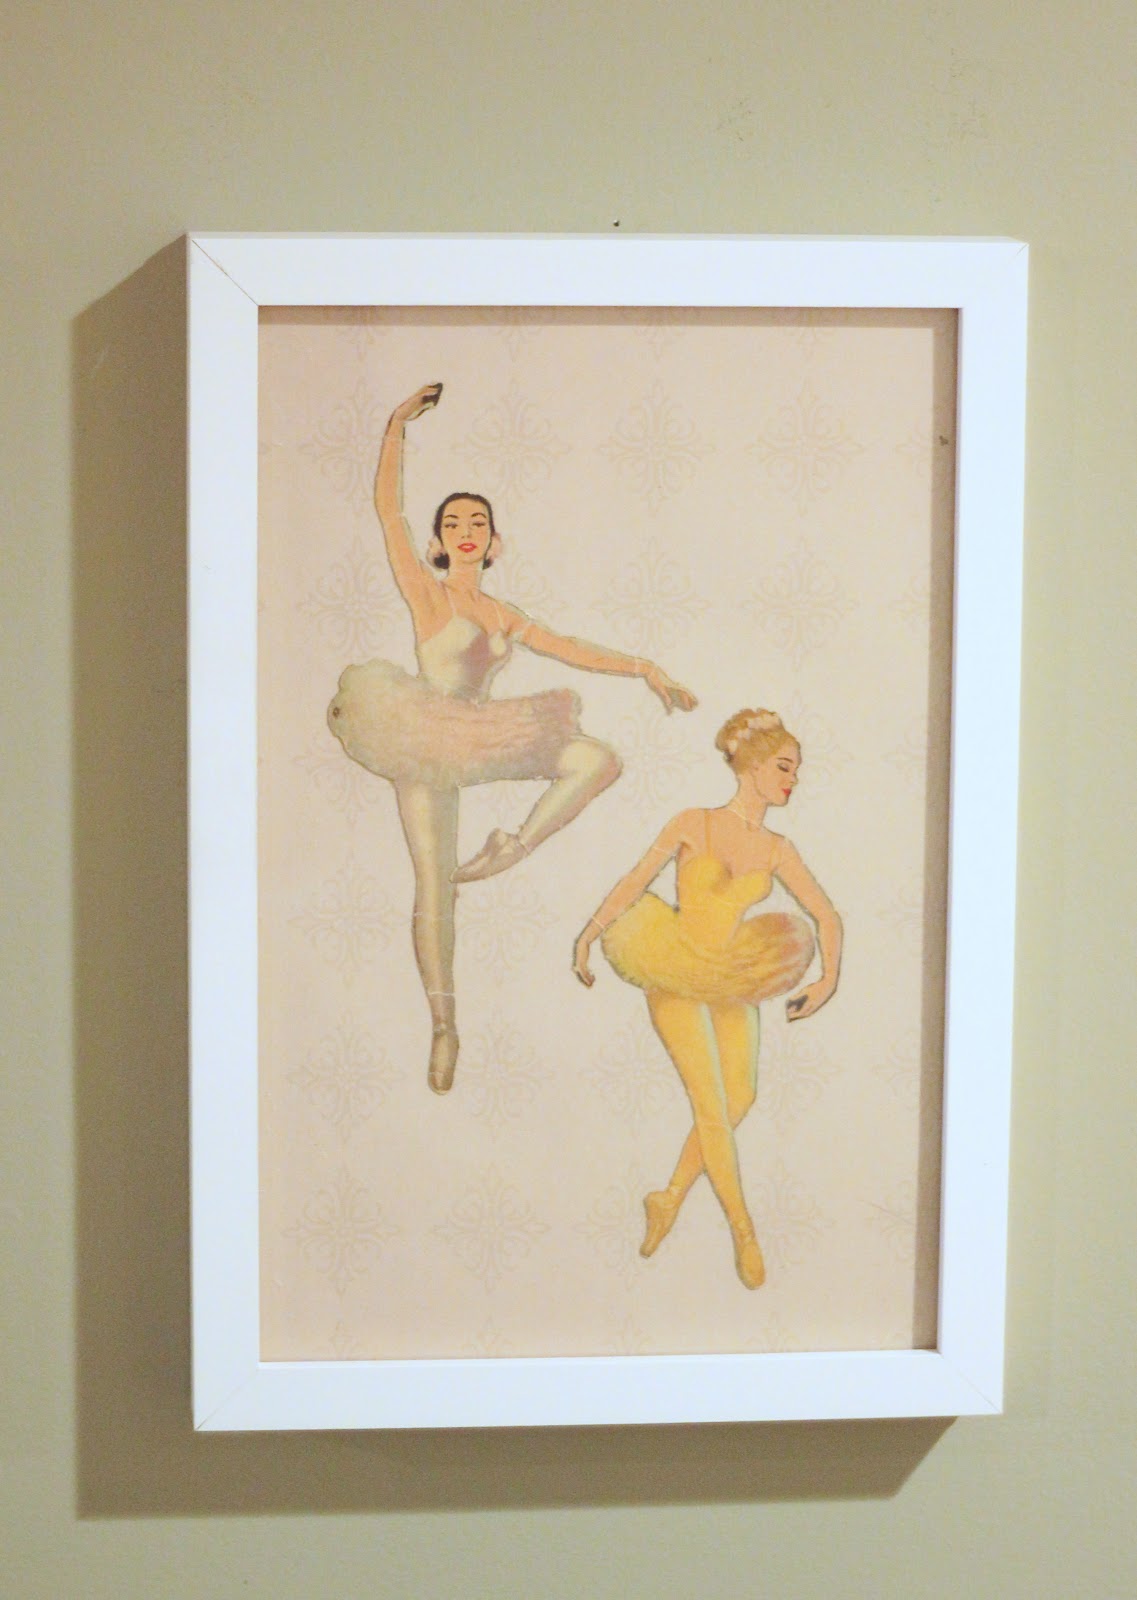
I was visiting my family in Texas last week, and my mom and I spent a lot of time in antique shops around the area. At one shop we found a whole trunk full of vintage paper dolls, and I was immediately hooked! We dug through the trunk for at least an house matching up my favorites with their clothing. We found these sweet ballerinas from the '50's, and I thought the girls I nanny for would be enthralled with them! I often draw paper dolls with them when I nanny, and they, like many little girls, love all things ballet.

The dolls too fragile to play with, but I thought they would make such lovely artwork for their bedrooms. I picked up some white clearance frames from Michael's ($2 each if you can believe it!). I made sure to use some archival/acid free scrapbooking stickies to tack them onto some scrapbook paper from my stash that complemented their coloring, and voila! Pretty, minimally cheesy children's room artwork. 

I plan to do something similar with the 1940's paper dolls I got for myself! I hope they inspire you to keep an eye out for vintage dolls on your antiquing adventures, I think they hold a treasure trove of decorating and gift possibilities!


Thanks for reading!!

Wednesday, August 1, 2012

Project - Scalloped Lampshades

I used my stenciled pillow method from the previous post to make over some lampshades! 
I got these 2 lamps for $11 each at Marshalls!! The shades were different colors and said "Sand" and "Sea" on them... cute, but, a little too... beachy for my tastes in our non-beach home.  I recovered the lampshades with a painter's tarp and some hot glue, and then used my scallop stencil and some white craft paint to stencil all over the shades! They turned out fantastic, and I love seeing them on either side of the TV!  

You will notice that one of the lamps is cracked, but as it was $11 and I'm no stickler for things being absolutely perfect when they are a good deal, I didn't care!  I also forgot to move the cord out of the way. Whatevsies! (See The Nester - The Power of the Imperfect)

My end tables are also different heights, a great way to combat that and have the lamps look even? Stack up books to even out the heights! I have books on both tables that raise the lamps up to the same height and I love the way they look. (Especially coupled with my Book Lamp behind the couch!)


Enjoy and thanks for reading!!

Thursday, July 26, 2012

Tutorial - DIY Stenciled Pillows


The quest for new pillows continues! I know I said in my previous post that I did not recommend painting for my Chevron Pillow - and it was true for that particular project.

However, today I'm going to show you how to use acrylic paint to stencil a scalloped design onto fabric for some more pillow cases! For this project again, I only put the pattern on the front, but you can do it on as much of the fabric as you like!

I chose to stencil this project. I tried to create a foam stamp too, as suggested by many blogs/Pinterest , but I just could not get it to work for me. It looked terrible and would not stamp evenly!

Materials:

Plastic sheeting of some kind: I used a plastic folder from some kind of file folder thing I had laying around. Other ideas include old projector sheets, actual stencil material (found at Michael's or other craft store) or any kind of flat piece of plastic. You may try other materials, but for me, plastic worked best.

Acrylic craft paint of your choice & container for it 
(I got my paint on sale at Michaels for 29 cents! One bottle was enough for 2 pillow cover fronts.)

Foam brushes (either cheapo kinds like I used here or stenciling specific ones with flat ends)

Paper /cardboard etc. to protect your work surface - your paint WILL bleed through the fabric!

Paper towels (for cleaning off stencil in between uses)

Masking or painters tape

Scissors

Iron


1. Cut your stencil. I used scissors to cut my stencil out. I was not super precise, I just traced a half circle from a bowl I had on my table and filled in the smaller circle by hand. As you can see I left plenty of space around it to block any extra paint from getting on the fabric.

2. Make sure you protect your work space if you don't want and paint to seep through. I used craft paper to cover my space and then taped my material down on top. Tape your material down! It keeps it from sliding  all over and allows for more precise placement of your stencil.

3. Begin! Figure out where you want to start (I began at the top and worked down) and carefully place your stencil. Carefully dab your foam brush into the stencil - dragging strokes may cause the stencil to move out of place! Acrylic paint dries super fast, so you don't need to worry a lot about messing up the previous part, but do be mindful of wet spots!

4. Wipe excess paint off both sides of the stencil after each use. Otherwise you risk stray globs messing up your fabric!

5. Repeat until you have covered your whole surface! 

6. Allow paint to dry fully (leave it alone for a few hours, touch up where needed.

7. Once completely dry, use a scrap cloth as a barrier between the fabric and your iron, and gently iron on low heat over all painted surfaces to set the paint into the fabric. I ironed without a cloth and got some burn marks!

8. Sew your pillow cover together! (Or whatever else you are making with this tutorial!) here's a tutorial for the basic envelope style pillow cover like I did at Texas Cottage Blog


Ta daaa!! Paul the Cat approved.

Enjoy and thanks for reading!!

Thursday, July 19, 2012

Tutorial - DIY Chevron Pillow

Chevron Pillow
Hello my dear, patient friends! I apologize for the long absence between posts, but I have been enjoying many weddings, travels, and general summer fun since you last heard from me. 

I also apologize that my first post back in a while does not have a fully detailed photo layout, I was working on this project at 11 pm last night and wasn't sure it would work, so I neglected to take in progress photos!

I have been itching for some bold, geometric print pillows to make over our couch, but having no fabric that matched my desires in my stash, I have been on the hunt for an alternative option. I found a 2- pack of zig-zag printed pillows for $20 at Marshalls, and at $10/pillow it wasn't a bad deal. However, we already have plenty of pillows and I was hesitant to buy more.

So I went on the hunt for a printed fabric to make covers instead, and wouldn't you know it, I COULD NOT FIND A SINGLE SCRAP! None of my usual haunts had anything resembling the pattern I had in mind! I couldn't believe it. So I weighed my other options. I could:

1. Go back and just buy the ones I found at Marshalls
2. Purchase fabric online (I found some at Fabric.com) 
3. Paint my own design onto plain fabric from my stash
4. Use iron on adhesive to create the design 

While I did not purchase the original pillows, I did go back and ponder it.
I Investigated purchasing fabric online, but it came out to costing almost as much as the original pillows, possibly more!

So my first DIY route was to mark off the design with tape and paint it. While it was not terrible, it was not great either...I had a lot of bleed under the tape lines and overall it was not very pretty close up. 
Verdict: I do not recommend.


Random dog-shaped cat toy. You're welcome.

FAIL!

My next, more successful attempt, was using iron on adhesive and fabric strips!

To make your own, here's what you need:


Iron, Ironing board

2 coordinating colors of fabric, one for the base of the pillow, one for the stripes
 (I used fabric left over from other projects, the gray is from my Cirrus Duvet!)

Scissors/ rotary cutter

Straight edge and/or 45 degree ruler

Sewing machine

(I had all these on hand already, so it made it a nearly free project for me- but with coupons at Michael's or another craft store you can acquire most of these relatively inexpensively. Aside from the sewing machine that is...)

My version!


1. Following the package's instructions, iron your stripe fabric onto the adhesive and then cut into even width strips. Make sure you have plenty to cover the pillow! I used one package and it got me through both pillows perfectly with 1-1.5 inch wide strips.

2. If you have never made a pillow cover before, you can find a tutorial for a simple cover  HERE. I just made a basic envelope style cover, but instead of using one continuous piece, I cut the front and back pieces separately and sewed it all together at the end (just cut off the "short sides" in the tutorial for the back!). You can use this tutorial to cover one continuous piece of fabric or just the front as I did!

3. To begin, I folded my base piece in half, removed the backing from one of my strips, and used a 45 degree ruler as a guide to lay one strip at a time and iron it down on high heat. 

I eyeballed the distance between each strip, but once I ironed a few down on one half, I unfolded the base fabric and worked on the other side, going back and forth forming V's until I finished the whole surface. 

NOTE: On the first pillow, I cut most of the centers on the 45 degree angle, but on the second pillow  I just overlapped the squared off edges at the center of the V and they stayed down a lot nicer than the angled bits!

4. Once you iron everything down, go back and sew along the edges of each strip as a reinforcement, then sew  all your pieces together (see this TUTORIAL; I used separately cut pieces, so if you do too, just pretend the "short sides" for the back are cut off in the tutorial! )!

 If  you're not satisfied and you'd like to clarify or see me do a basic pillow cover tutorial, just let me know in the comments! Thanks for reading and enjoy your pillows!!

(Since this was a word heavy post, please enjoy this photo of my cat!)


Friday, April 27, 2012

Redecorating!

 I mentioned in my last post  that I've gotten the redecorating itch. Well, I had to scratch it! With some inexpensive Behr paints samples, some spray paint I already had, and some thrifted $6 curtains, I got to work!

I stripped this coffee table, which we had painted black for the past few years. We live in a basement right now, so the black furniture made it feel even darker than it already is down here! I used Behr's Chocolate Froth paint on the coffee table and two end tables. It's a very light gray, though it looks white in this lighting/pictures.


Left: Cheap Walmart end table, $1 drawer pull from Michael's, Behr's Chocolate Froth paint
Right: Free end table from a family I babysat for,  used to be black w/ green drawers. Behr's Chocolate Froth paint, and Behr's Ashwood on the drawers. Original drawer pulls.


These frames were thrifted, I have had them since my wedding. We used them in our photobooth! They were almost the same color as the walls originally, but to brighten things up I spray painted them white. Then I used twine to tie some old Orangina drink bottles we've been saving onto the frames for flower vases!


I found some awesome vintage curtains at the thrift store that had a great floral print on them with all these beautiful colors. Only using one of the panels, I was able to make 2 throw pillow cases and recover a lamp shade! You can't see it in this picture but the colors perfectly complement all the colors in our book lamp!


 Hope you enjoyed my little redecorating spree re-cap, thanks for reading!!


Friday, April 20, 2012

Black Apple Dolls

 I tried my hand at making Emily Martin's Black Apple Doll as a birthday gift for the girls I babysit, here's how they turned out!  This is a great project to use up scrap fabrics and fat quarters! I used a plain muslin for the main bodies and fray checked the raw edges on the rest of the fabrics I used that were not hemmed. I embroidered their initials on their chests to avoid arguments between the girls. I drew their faces on with a permanent marker and painted their cheeks with nail polish. 


I made fabric drawstring bags for each girl with their initials on the front, along with little beds for each doll. I wanted them to be able to keep all the accessories together easily!


I made a bunch of dresses for each doll! Of course the girl's favorite dress was the pink princessy ballgown...


Thanks for reading!!

Wednesday, April 18, 2012

Bedspread to Shower Curtain!


OH HAI GUYZ!

Paul the cat is surprised to see youuu


I know it's been a little while, but thus is life! 
SO. Remember that Ruffley Bedspread  I made about 2 years ago?

WELL....
It has a new life! Since I made a new duvet last summer, the first one has been hibernating in a storage bin ever since. We recently splurged for some new gray towels at HomeGoods, and I wanted to replace our shower curtain as well, but Kyle and I are also trying to save money to buy a house. That means when I get the redecorating itch for non-essentials, I gotta use what I already have!


I trimmed the spread down to size using the original shower curtain, and sewed a reinforced strip across the top.Then I installed some grommets from Michael's and dyed it gray with a few boxes of RIT Pearl Grey dye I already had on hand. I used 2 packs of grommets for a total of about $6. Supa cheap and snazzy re-do! 

It's not perfect, but it's enough of an update that my need to redecorate the bathroom is satiated! 

Thanks for reading!!


Monday, March 12, 2012

Weekend Dress


This weekend I tried my hand at Simplicity Pattern 1873 from the Cynthia Rowley Collection. Simplicity patterns were on sale, so I picked it up for $1.99! Paired with the fabric, which is an old sheet  I got for $2 from Salvation Army, this project only cost me $4! 

I will preface this by saying I have only made a handful of items from real patterns, and though I have a pretty good base knowledge of sewing,I am still learning about making clothing. I had some help with this from the Collette Patterns Sewing Book (a birthday gift from Husband!)

This pattern was fairly easy to use, and came out super cute! By my measurements, the pattern back claims I should have used a combo of a size 16 and 18 pattern (Note that pattern sizings are very different than today's clothing sizing! They can also run baggy and looser even when you go by your measurements, so you may have to experiment!) BUT the Size 14 pattern fit me perfectly, with next to zero size adjustments! Fantastic!

I made a few stylistic adjustments to my garment. I added a Peter  Pan style collar. I used this tutorial at Adventures in Dressmaking as a guideline, but instead of adding it on top of the dress as she does with the tank top, I sewed it between the linings so there would be no raw edges.

I made a gathered rectangle skirt instead of using the pattern's skirt (not enough material!). I also added pockets (a  necessity for all skirts and dresses of course! Click the link for a tutorial.) for practicality and adorableness.

I spent about 3 days on this dress. 2 days on the bulk of the work, and the third day reworking the zipper and finishing overall. I took my time and stopped and took breaks when I got frustrated. It's not perfect, I messed up some of the understitching (which helps keep the linings laying flat) and I had to redo the zipper like 10 times, but it is now fully functional, fitted, comfortable and ready from warmer weather!


Thanks for reading!

more pretties to enjoy

Related Posts Plugin for WordPress, Blogger...